How to Transform an Image into a Video with AI in a Few Steps
If you’ve ever wanted to bring a static photo to life — make a landscape start moving, animate someone’s face, or turn an illustration into a cinematic scene — artificial intelligence has made that possible in a simple, fast, and accessible way. In this article, you’ll learn how to transform an image into a video with AI, which tools to use, and how to get the best results.
What Is AI Image to Video Technology?
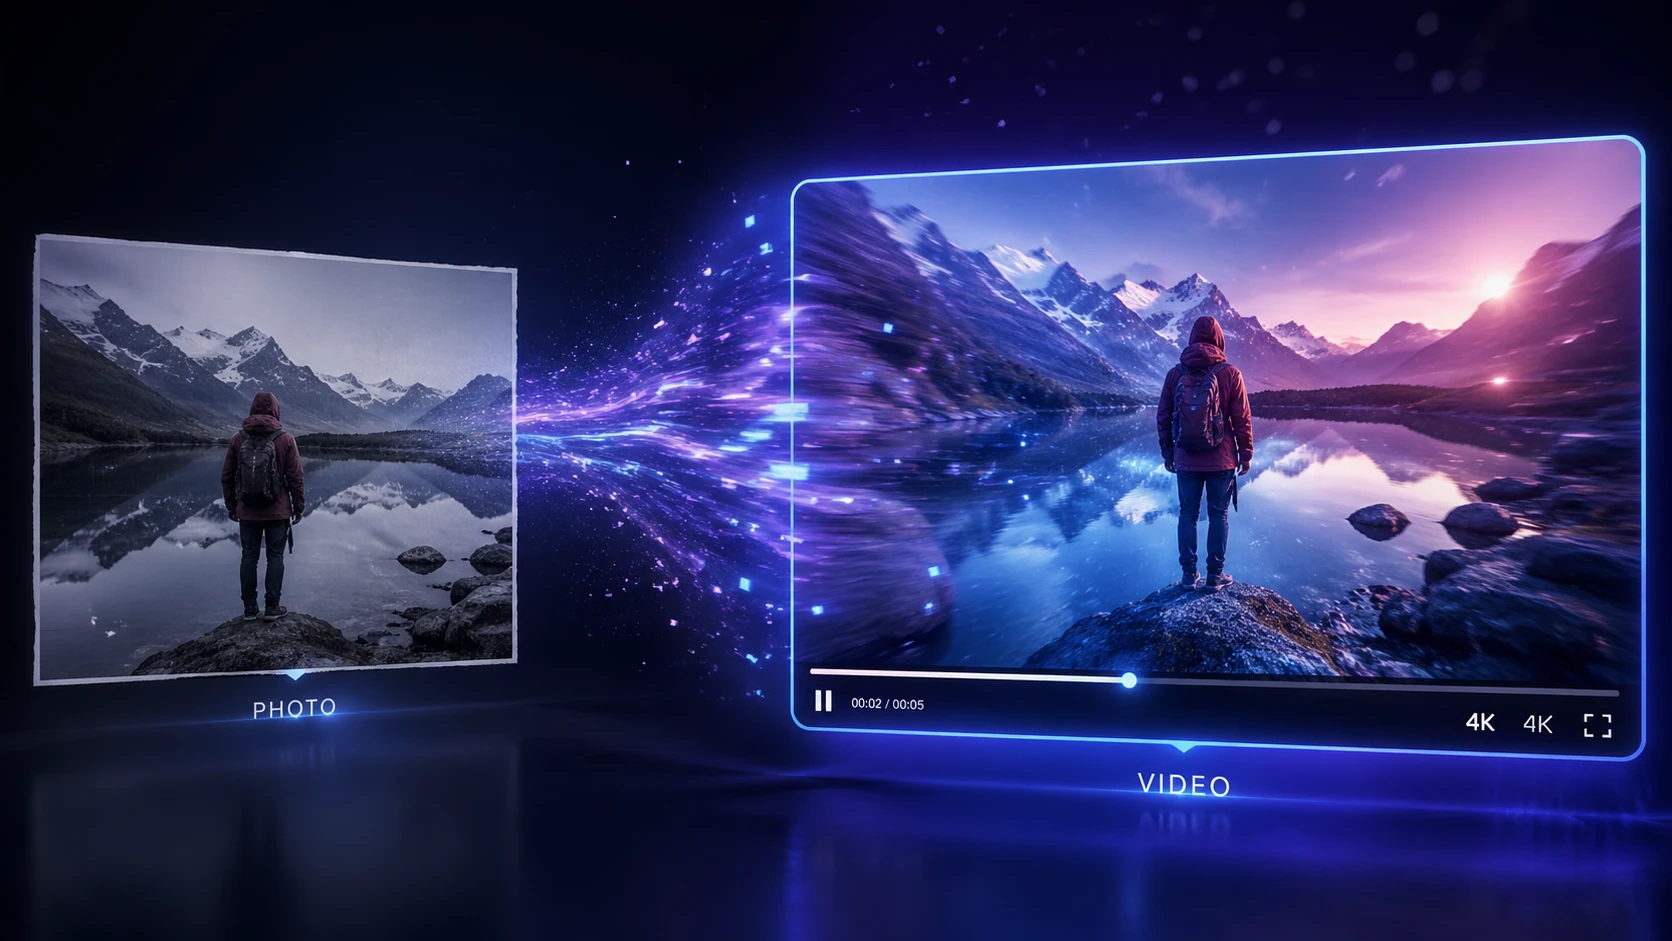
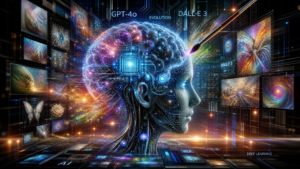
Converting images to video with artificial intelligence is one of the most impressive innovations of recent years in the field of media generation. It uses deep learning models — especially neural networks known as diffusion models and video transformers — to analyze the elements of a static image and generate additional frames that simulate movement.
00:00:12 — PREVIEW
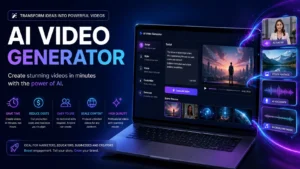
See this exact workflow rendered in real time
Skip the manual editing. Lumivids turns a script, image, or idea into a finished video in minutes.
Try it freeThe result is a fluid video that uses the original image as an “anchor point” and creates coherent animations: ocean waves rolling in, hair swaying in the wind, clouds drifting across the sky, or characters gaining natural expressions and gestures.
This technology has applications across many fields:
- Marketing and advertising: turning product photos into dynamic videos for social media
- Content creation: animators and independent creators who want to produce videos without a camera
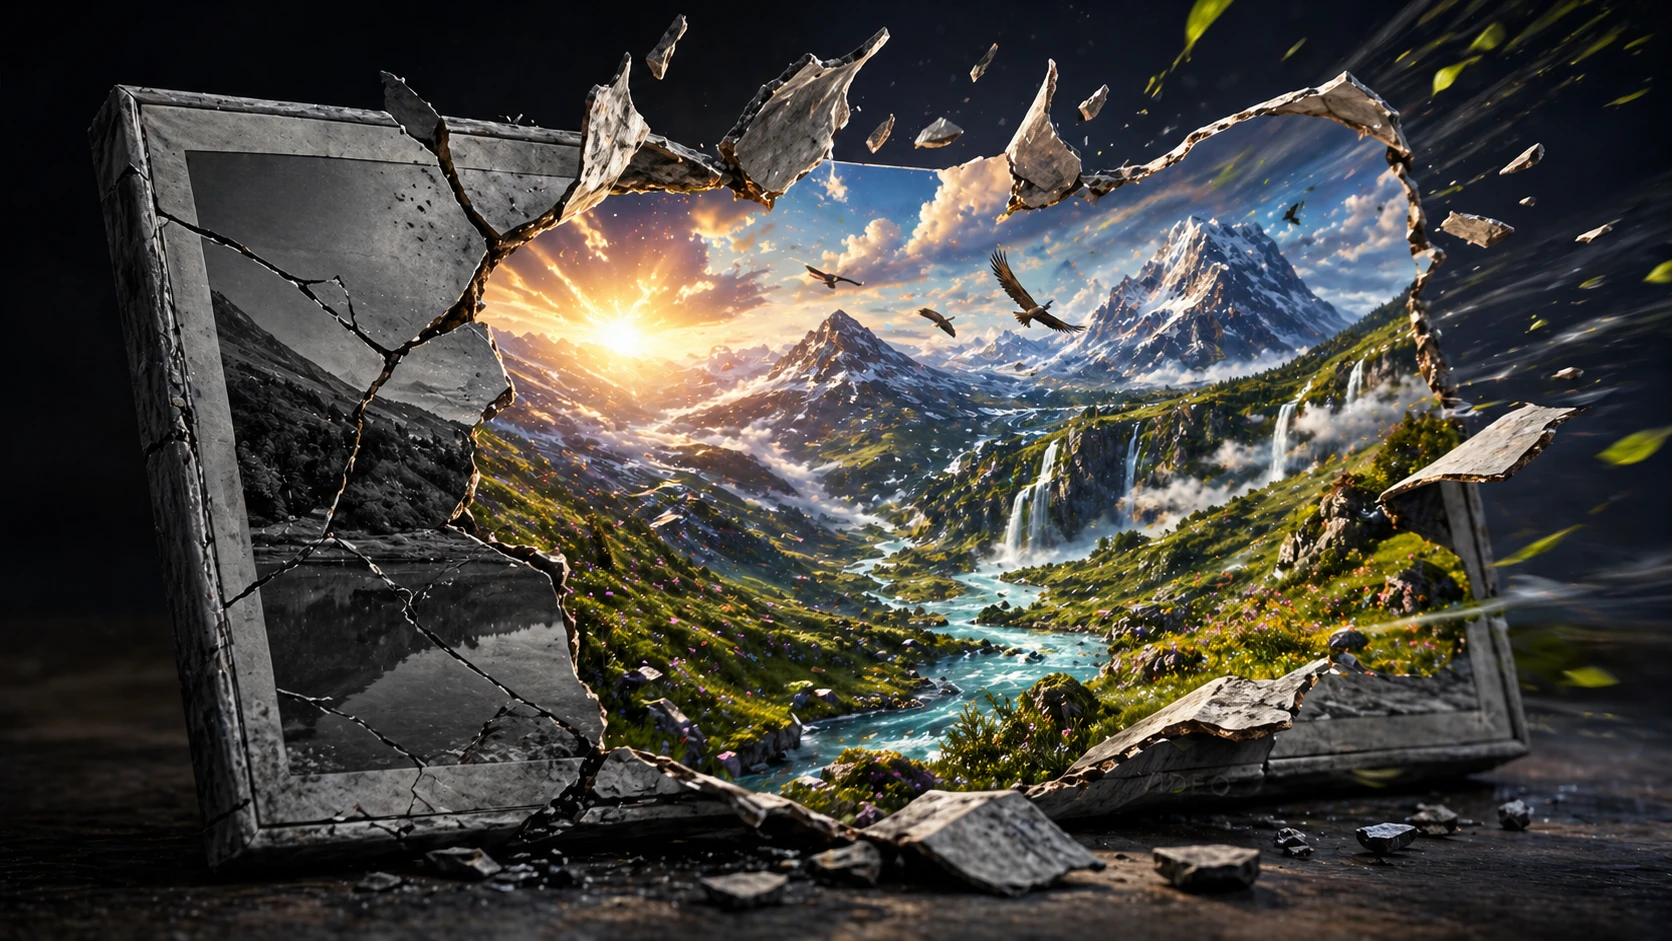
- Entertainment and digital art: bringing illustrations, paintings, and concept art to life
- Personal memories: animating old family photos
- Education: creating explanatory videos from infographics
Why Use AI to Create Videos from Images?
Before AI, turning an image into a video required animation professionals, specialized software, and hours (or days) of work. Today, anyone with internet access can generate a video in seconds.
The main advantages are:
Speed: what used to take days can now take seconds or minutes.
Affordable cost: most tools offer free plans or prices far lower than hiring a professional animator.
No technical skills required: the interface is simple — you upload the image, configure a few options, and click generate.
High quality: the latest models produce videos in Full HD or even 4K resolution, with realistic motion and no visible distortions.
Customization: you can control the type of movement, video duration, visual style, and even add a text prompt to guide the animation.
The Best Tools to Transform Images into Videos with AI
There are several options on the market, each with its own features. Here are the main ones:
1. Runway Gen-3 Alpha
Runway is one of the most advanced platforms for AI video generation. With the Gen-3 Alpha model, you can upload an image and a text prompt describing the desired movement, and the tool generates a video of up to 10 seconds with cinematic quality.
Best for: professional content creators, production studios, and digital artists.
Strengths: extremely high quality, camera control, multiple visual styles.
Limitation: the free plan has limited credits.
2. Kling AI
Developed by Chinese company Kuaishou, Kling AI stands out for generating long videos (up to 2 minutes) with highly realistic motion. It’s especially good at animating human portraits and scenes with complex physics, such as water and fire.
Best for: those who need longer videos with realistic physics.
Strengths: long duration, natural movements, great for human faces.
Limitation: processing time can be slower during peak hours.
3. Pika Labs
Pika is one of the most popular tools among content creators thanks to its intuitive interface and Discord integration. It allows you to animate images with different types of motion and add special effects.
Best for: beginners and social media content creators.
Strengths: easy to use, fast results, good support community.
Limitation: shorter videos and less control over movements.
4. Stable Video Diffusion (SVD)
SVD is an open-source model from Stability AI that can be run locally or accessed via platforms like Replicate. It offers great flexibility for technical users who want to customize the process.
Best for: developers and advanced users.
Strengths: free, customizable, no usage limits.
Limitation: requires technical knowledge for local setup.
5. Luma Dream Machine
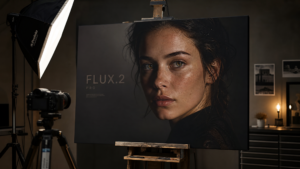
Luma AI gained attention for generating film-quality videos from images and prompts. It’s known for accurately capturing lighting, textures, and depth of field.
Best for: photographers and filmmakers looking for a more cinematic aesthetic.
Strengths: high-quality visuals, excellent light and shadow reproduction.
Limitation: the free plan limits the number of generations.
How to Transform an Image into a Video with AI: Step by Step
Regardless of the tool you choose, the general process is very similar. Here’s how to do it:
Step 1: Choose and prepare your image
The quality of the generated video depends heavily on the quality of the input image. Prefer images that are:
- High resolution (at least 1024 x 1024 pixels)
- Sharply focused on the main subject
- Free of watermarks or unwanted elements
- Clearly composed (what you want to animate should be clearly visible)
Avoid images that are too dark, blurry, or visually cluttered in the background.
Step 2: Access your chosen AI platform
Create an account on your preferred tool. Most offer login via Google or email. Some, like Pika, work through Discord.
Step 3: Upload your image
Drag your image to the designated area or use the upload button. Check the accepted formats — most support JPG, PNG, and WebP.
Step 4: Set your motion prompt (optional but recommended)
Many tools allow you to describe in text the type of movement you want. Examples of effective prompts:
- “Gentle wind blowing through the trees, slow camera zoom in”
- “Ocean waves moving slowly, golden hour lighting”
- “Hair flowing in the wind, subtle facial expression changes”
- “Clouds drifting across the sky, birds flying in the distance”
Write your prompt in English for the best results, as most models were trained predominantly on English-language data.
Step 5: Adjust the settings
Depending on the tool, you may be able to adjust:
- Video duration: typically between 3 and 10 seconds (some allow up to 2 minutes)
- Motion intensity: how much things move within the scene
- Aspect ratio: 16:9 for YouTube, 9:16 for Stories and Reels, 1:1 for Instagram feed
- Visual style: realistic, cinematic, animated, etc.
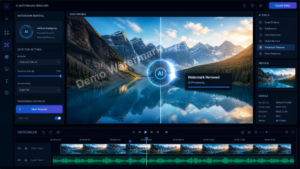
Step 6: Generate the video and evaluate the result
Click “Generate” or the equivalent button and wait. The time varies from seconds to a few minutes, depending on the platform and processing queue.
Evaluate the result and, if needed, adjust the prompt or settings and generate again. Most platforms allow multiple attempts.
Step 7: Download and use your video
Once you’re happy with the result, download the file. The most common formats are MP4 (H.264 or H.265). The video is ready to be published on social media, embedded in presentations, websites, or used in any creative project.
Tips for Getting Better Results
Be specific in your prompt: the more detail you provide about the type of motion, the better the result. “Wind blowing” is vague; “gentle breeze moving the leaves from left to right, slow and peaceful” is far more effective.
Use images with room for movement: if the scene is already too crowded or elements are near the edges, the model will struggle to create motion without distorting the composition.
Try variations: generate the same video 2 or 3 times with small prompt variations. Each generation is unique, and often the second or third attempt is the best one.
Combine with video editing: use editors like CapCut, DaVinci Resolve, or Adobe Premiere to add music, cuts, text, and effects to the AI-generated video.
Respect image rights: only use images you created, purchased, or that are in the public domain. Avoid using photos of real people without their consent.
Practical Use Cases
For Content Creators
Turn thumbnails into opening videos, animate logos to use at the start of your videos, or create dynamic content for Instagram and TikTok feeds without needing a camera.
For E-commerce
Bring your product photos to life: show a sneaker rotating, a bag being opened, or a perfume releasing vapor. Videos significantly boost conversion rates on product pages.
For Agencies and Marketing Professionals
Produce content at scale for clients without relying on production studios. Turn advertising campaign photos into paid media videos in minutes.
For Teachers and Educators
Animate infographics, maps, and diagrams to make content more dynamic and engaging in lessons and presentations.
The Future of AI Video Generation
The technology is evolving rapidly. In 2024 and 2025, we saw a huge leap in the quality of AI-generated videos. Current models are already capable of producing multi-second scenes with impressive visual consistency.
The trend points toward being able to generate long-form videos with characters that remain consistent throughout entire scenes, synchronized dialogue, sound effects, and even soundtracks — all from a single image and a text prompt.
For creators, businesses, and communication professionals, mastering this technology now is a real competitive advantage. Those who learn to use generative AI tools well today will be far ahead when this technology becomes even more accessible and powerful.
Conclusion
Transforming images into videos with AI is no longer science fiction — it’s an accessible reality for anyone. With the right tools and a few prompt tips, you can create impressive videos in just a few minutes, without expensive equipment or advanced technical skills.
Whether for personal, professional, or creative use, AI Image to Video technology opens up a world of possibilities that we are only just beginning to explore.
Ready to give it a try? Test Image to Video conversion right now and see the results for yourself.
Enjoyed the article? Share it with someone who also wants to create amazing videos with artificial intelligence.
RENDER COMPLETE
Ready to make your own?
Join the creators already producing video at a scale traditional production can’t match.

Post Comment